

When Microsoft Dynamics 365 online was first created, administering the system was slow, with many settings hidden under complex menus. This made changing settings hard for the first time admin. Now administration is quicker and falls in two areas.
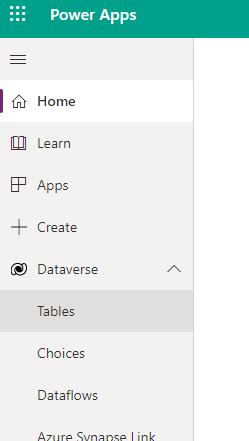
Power Apps (https://make.powerapps.com/)
Here you can administer all the data related activities like creating tables, views, forms and charts
Power Platform Admin (https://admin.powerplatform.microsoft.com/)
Here you can administer all the application related items like users, roles and apps
So, let’s look at some common admin tasks in detail
How to add users in Dynamics 365
Dynamics 365 user management is straightforward
- Go to Power Platform Admin
- Choose the environment you’d like to administer
- Click See all under the Users heading
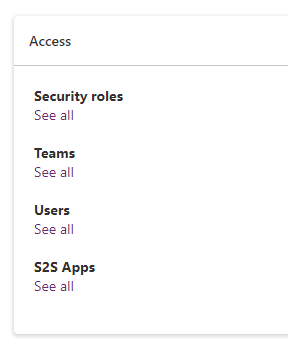
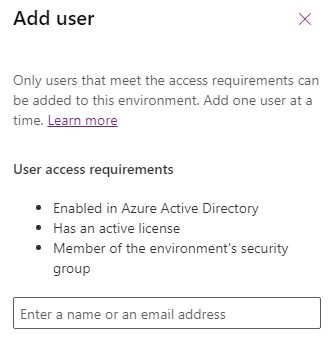
- Click Add user and fill in the user’s details. The new user will need a licence and must be in the environment’s security group
Assign users to roles
When you’ve created a new user in Dynamics, you’ll need to give that user one or more roles. Here’s how to add a user to a role in Dynamics which has already been created.
- Go to Power Platform Admin
- Choose the environment you’d like to administer
- Click users
- Choose the user you wish to add to a role and click their name
- Click manage roles

- Select the roles your like to add or remove
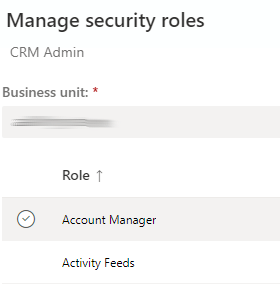
- Click save
Add or edit roles in Dynamics 365
This is not yet available in Power Platform Admin.
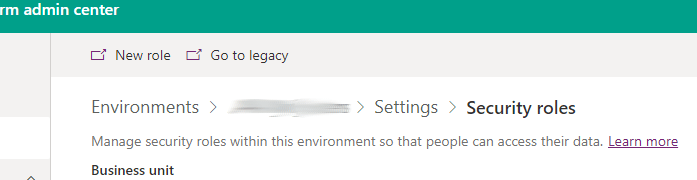
If you click the New role link, you’ll be redirected to your Dynamics 365 instance, where you can add a new role
How to edit or create a form in Dynamics 365
In the classic interface of Dynamics 365, you could access the forms editor by simply clicking the form button when you viewed a record. However, the form editor was quite slow to use and didn’t give a WYSIWYG representation of the page. The new forms designer in Power Apps admin is much better.
To edit a form in Power Apps (unified interface)
- Go to Power Apps
- Click Dataverse, then Tables
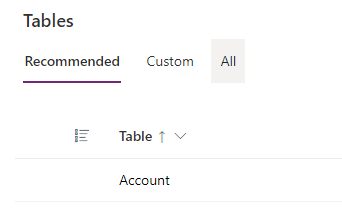
- Find the table (entity) you’d like to edit the form in.
If you can’t find the table, click All to search through all your tables.
Click the table name.
- Click Forms in the Data experiences section
- Choose the form to edit
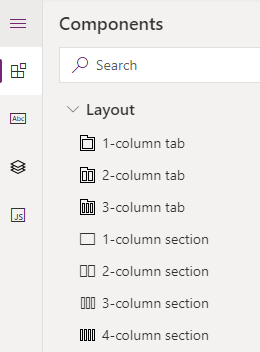
- Use the buttons on the left hand side of the screen to move between [IMAGE]
- Components – add structure and components to your form
- Table columns – Add columns (fields) to your form
- Tree view – navigate between the sections and tabs in your form
- Form libraries – add Javascript to your forms
- After you’ve finished editing your Dynamics 365 form, remember to Save, and Publish
Edit or create public views in Dynamics 365
The editor for Dynamics views is much improved in the new Power Platform admin. Microsoft have worked hard to increase the flexibility and reduce the number of clicks needed to make simple changes to views.
- Go to Power Apps
- Click Dataverse, then Tables
- Find the table (entity) you’d like to edit or create the view in. If you can’t find the table, click all to search through all your tables. Click the table name.
- Click Views in the Data experiences section
- Choose the view to edit
- Unlike in the classic editor, you see immediately how the view changes
- You can add or reorder columns by drag and drop
- You can edit the view criteria using the column on right of the screen
- Select sorting options, or
- Change the data filters using the Edit filters button
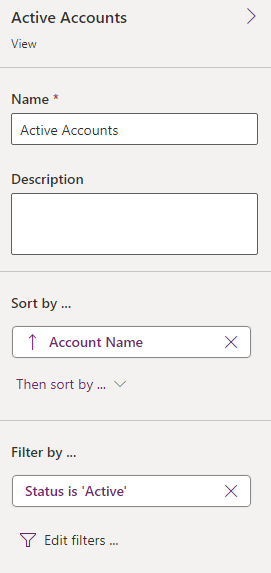
- When the view displays data in a way you’re happy with, remember to Save, and Publish
Edit or create table (entity) relationships in Dynamics 365
- Go to Power Apps
- Click Dataverse, then Tables
- Find the table (entity) you’d like to edit or create the view in. If you can’t find the table, click all to search through all your tables. Click the table name.
- Click Relationships in the Data experiences section
- Choose the relationship type you’d like to create from the New relationship menu [IMAGE]
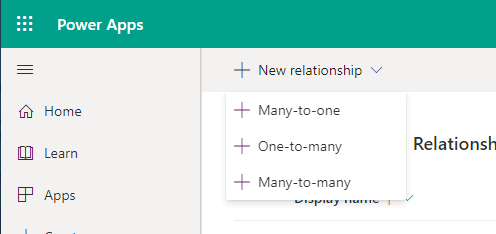
- Select the table you’d like to make a relationship with
- Click Done